Ghastly Ghosts in the Graveyard!
Who’s excited for Halloween??? It’s one of the most fun times of year around our house. Festive decorations, spooky treats, costume parties and a lot of good-natured pranks!
SEE THE RECIPE
 by
Alexandra
 by
Alexandra
Who’s excited for Halloween??? It’s one of the most fun times of year around our house. Festive decorations, spooky treats, costume parties and a lot of good-natured pranks!
We have a great group of kids in our neighborhood who like to get together. One of their favorite Halloween games is called “Ghosts in the Graveyard.” With all the kids coming over to play, we decided it would be fun to make some ghostly treats and place them in our own version of a graveyard.
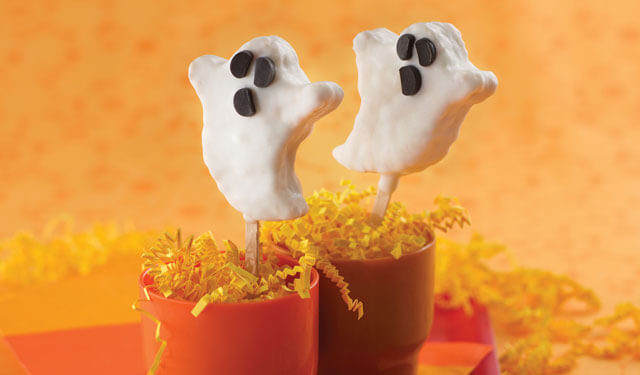
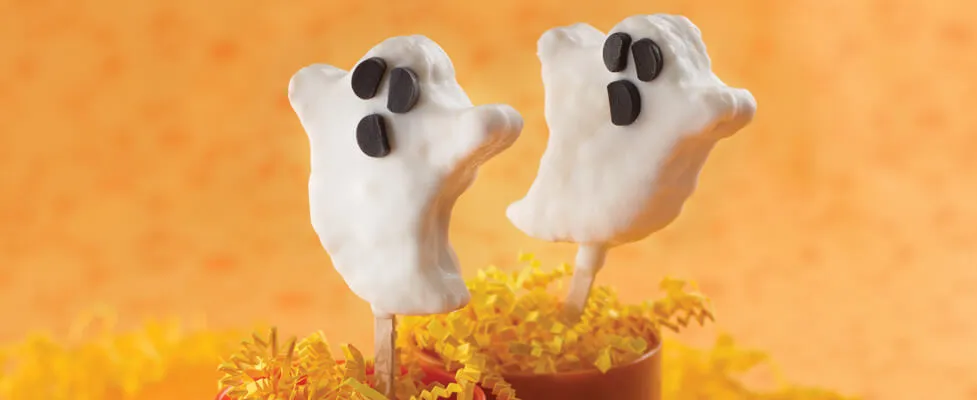
Last year I made “Freakishly Frightful Frankenstein Treats” for our annual fright fest party. This year these Ghostly Cereal Pops will definitely be one of the treats we serve! Crispy rice treats are usually an easy, fun treat that everyone can eat and enjoy. Cut them into fun shapes? Yes, please! Dip them in chocolate? Yes, please!!
Want to see how to make these ghastly ghosts? They are so easy to make, you must be trickin’ me!
To begin, line a 9-inch square baking pan with aluminum foil and spray it with no-stick cooking spray. This will help to ensure that your sticky marshmallow mixture comes out of the pan in one piece and is easier to work with!
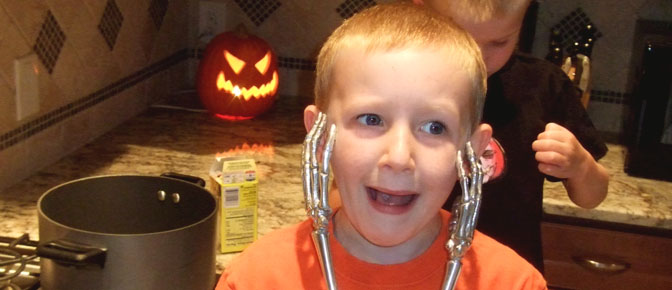
It’s always easier with an “extra set of hands” in the kitchen.
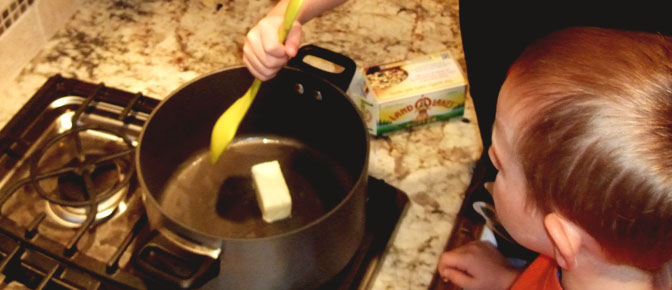
Place 1/4 cup butter into a large saucepan.
Add 3 cups mini-marshmallows. The mini-marshmallows melt a little easier, but if you have the larger marshmallows, they will work, too.
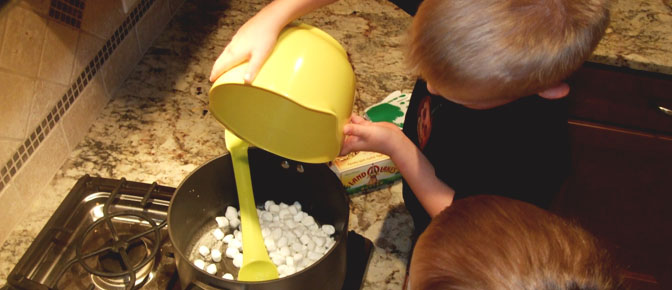
Cook over medium heat until the marshmallows are completely melted and the mixture is smooth.
While you are waiting for the marshmallow mixture to melt, place 12 six-inch craft sticks nearby. You will have a few sticks left over. I actually had kabob skewers from this summer that I trimmed to 6 inches long, and they worked great. I am all about re-purposing items and saving money and time where I can!
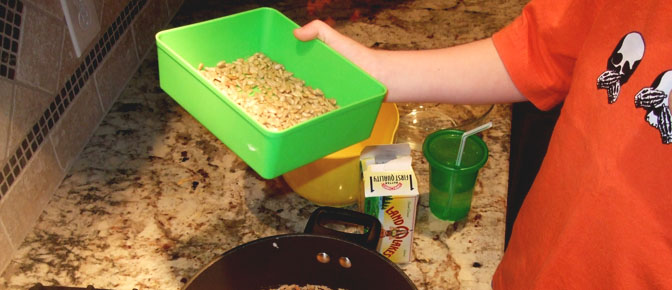
When the mixture is ready, add 3 1/2 cups crisp rice cereal to the saucepan.
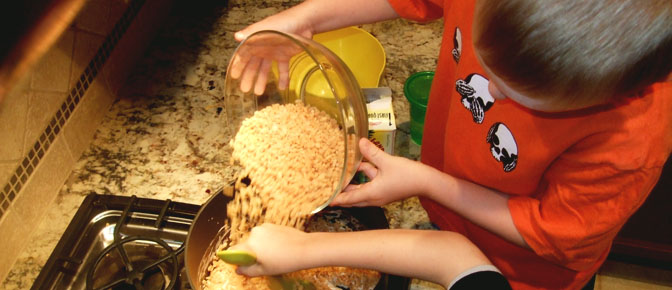
Then add 1/2 cup sunflower kernels. I love this part – it makes a perfect mix of sweet and salty flavors! It was super tasty with the candy coating, too! Yum!
Mix to completely coat everything with the marshmallow mixture. It should look like this:
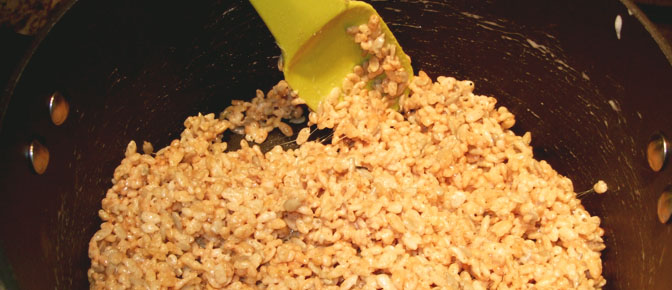
Spoon the mixture into the prepared pan.
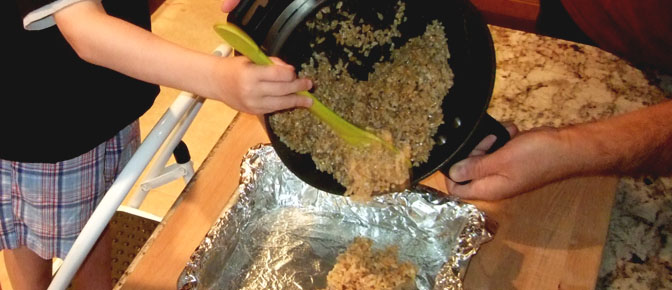
The recipe says to press the mixture into the pan with buttered hands. However, there is no way that I am letting my goblins butter their hands, and then assume that they can make it two feet away to wash their hands without touching everything. It’s physically impossible for them not to touch each other, the family cat, the cabinets, etc. So we just pressed it into the pan with a buttered spoon. Let it stand for two hours until the mixture is set.
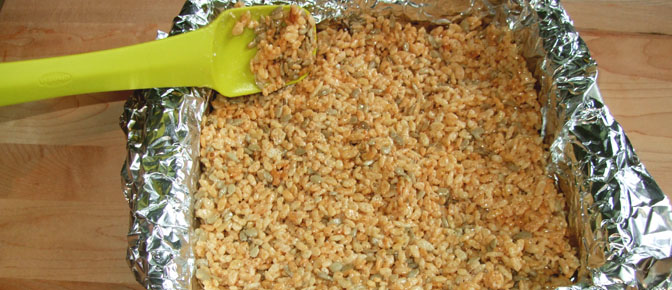
Remove from pan using the foil ends. Place onto a flat work surface. Peel off the foil and, using a 2- to 2 1/2-inch ghost cookie cutter, press it firmly into the cereal mixture to cut out ghost shapes. I found that with this 9-inch pan and my young helpers, I was able to get four ghosts out of the pan. I softened the remaining mixture in the microwave and repeated the instructions to make a few more ghosts.
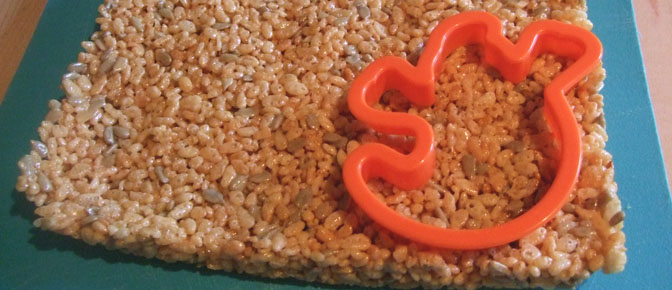
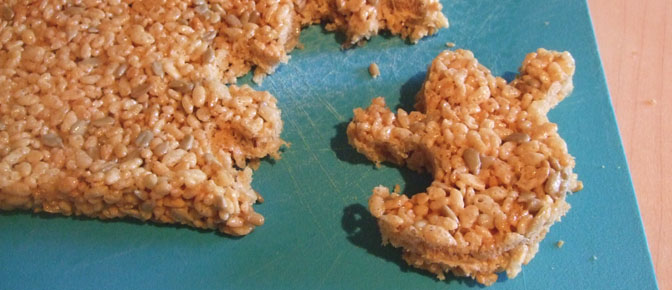
The fun part comes next! Place 14 ounces of vanilla-flavored candy coating or almond bark (you can find it at most craft stores in their candy-making section) into a 9-inch glass pie pan. Microwave it in 15-20 second intervals until it is melted and mixes smoothly.
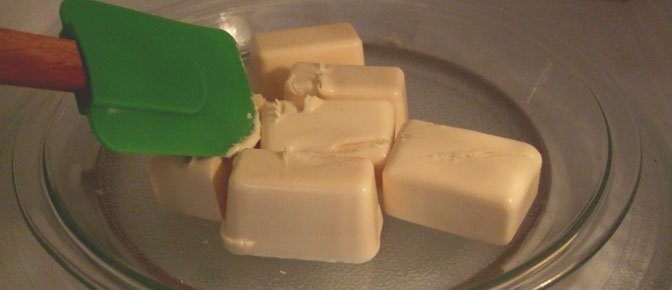
You will want to be sure to use a pie pan, as it is shallow enough to ”coat the ghost.” This ended up being the chant while we were dipping our ghosts in the candy mixture.
Dip the end of one craft stick into the candy mixture, and then insert the coated end into the ghost. The candy will help the ghost to better adhere to the stick. Without dipping the stick into the candy first, the ghost will just spin around on the craft stick. (Trust me, we forgot on one of our ghosts and that’s what happened. Then the ghost slid down the craft stick and a meltdown of ghostly proportions happened. “Noooooooo, my ghoooooost!”)
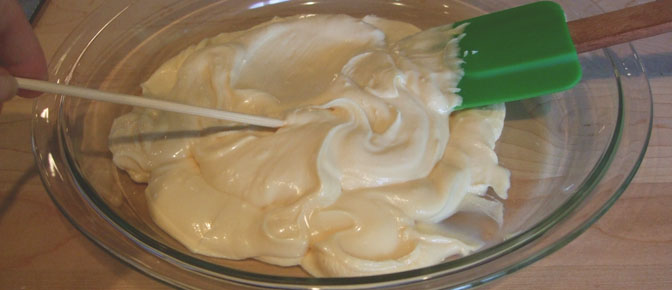
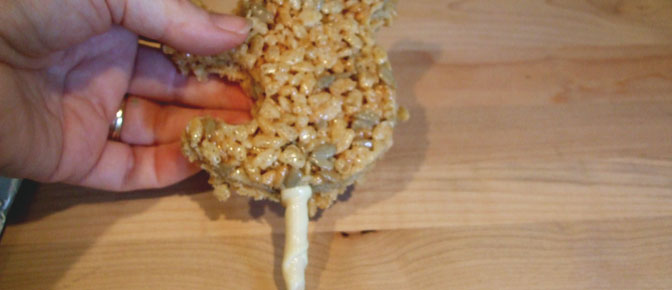
Dip one side of the ghost into the candy mixture until fully coated. Scrape off the excess and place coating side up onto a prepared aluminum foil surface.
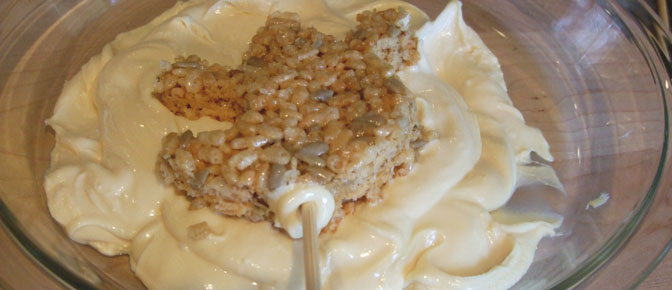
“Coat the ghost!” “Coat the ghost!” We found that “painting” the coating onto the ghost was a bit easier to make sure that it was covered entirely.
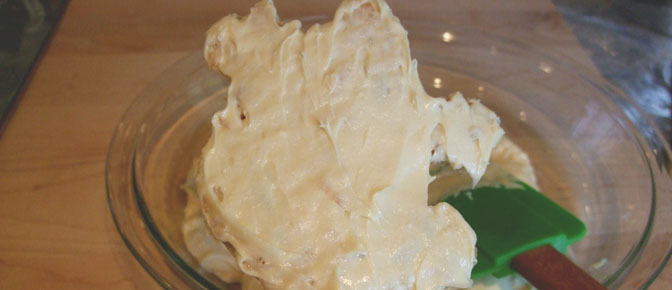
Let treats stand on the foil until the coating is set.
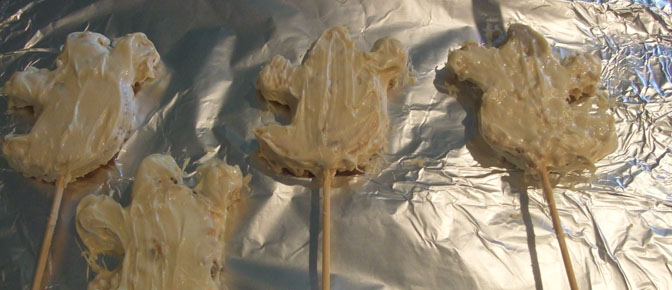
Reheat the candy coating mixture as needed, and dip the front and sides of the ghost into the coating, spreading as necessary to cover all sides of the ghost.
The directions say to use cut licorice pieces for eyes and mouth. My kids are not fans of licorice, so I know they would just pull them off and throw them somewhere in my house. We decided to use mini chocolate chips for the eyes and mouth.
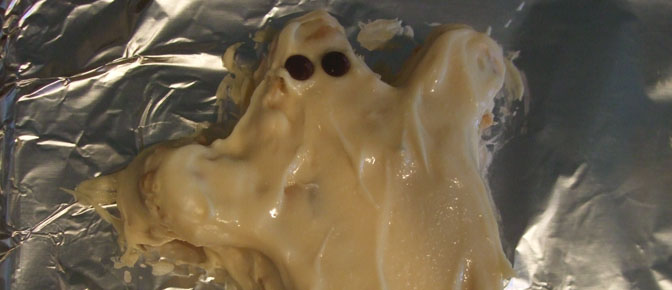
Place the ghosts back on the foil and let stand until set.
These turned out super cute and were so much fun to make. We named one of the ghosts “Harry,” and he managed to swoop around the kitchen a few times before he was eaten.
Bryce asks, “Can I have two ghosts?” My kind reply was, “BOO to that idea! One for now, and one for later!”
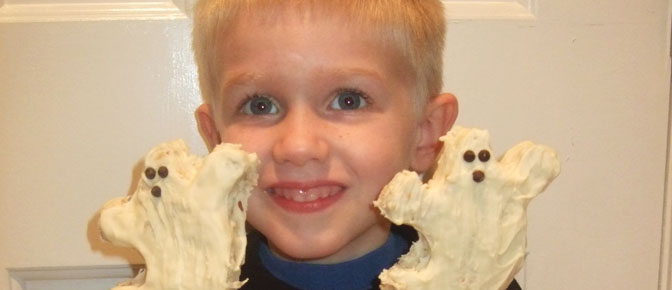
Here we used our ghosts in our own version of “Ghosts in the Graveyard.” It was fun to see it on the decorated Halloween table.
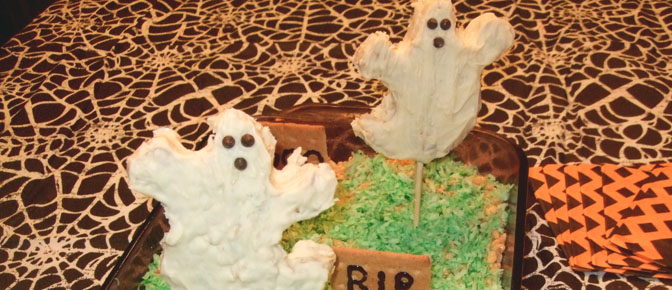
Whatever tricks or treats you have planned for your Halloween festivities, this is one treat I would definitely plan on making. Your ghosts and goblins are sure to love it.
Alex is paid to write for the Land O'Lakes Recipe Buzz® Blog.
Share Your Thoughts
Did you find this article helpful? Has it inspired you? What else would you like to know?


