Cookie Camp at the Cabin
The cousins from California just came to visit and we made sure to have some fun activities planned. Rio and Roark are 7 and 5, and they love baking, so we thought it would be fun to make cookies.
SEE THE RECIPE
 by
Liz
 by
Liz

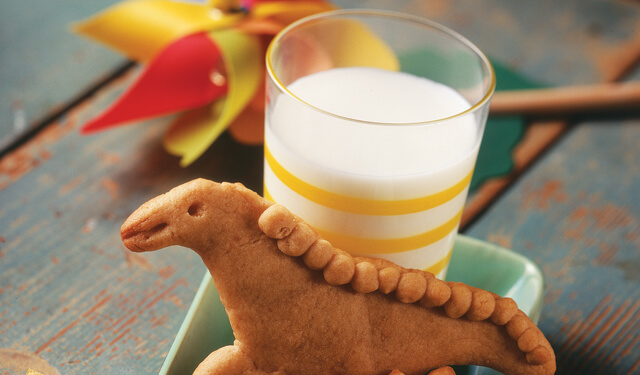
The cousins from California just came to visit and we made sure to have some fun activities planned. Rio and Roark are 7 and 5, and they love baking, so we thought it would be fun to make cookies. Kids love dinosaurs, so the Cookiesaurus recipe caught my eye. It’s a baking activity with lots of room for creativity—perfect!
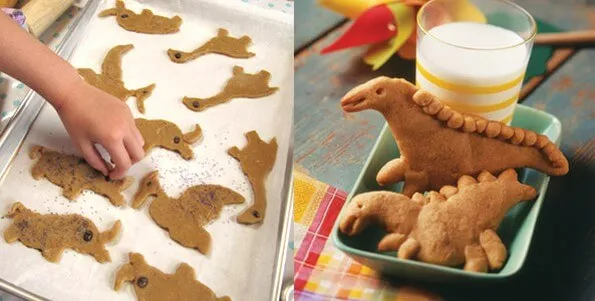
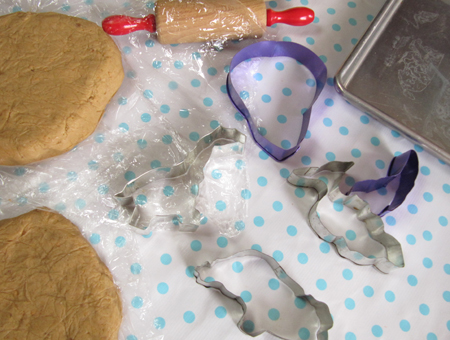
Our first opportunity for creativity came when I went to find a dinosaur cookie cutter. I couldn’t find one, so we decided to try making our own out of cookie cutters we already had and rarely use. First we found an elephant and fashioned it into a long-necked dinosaur, similar to a brontosaurus. Working with what we had, we looked for pictures online and just tried to get as close to the shape as we could using the cutters we had.
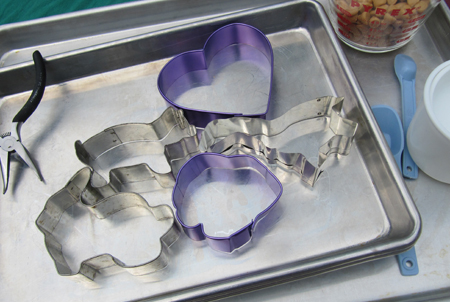
An adorable pig became …
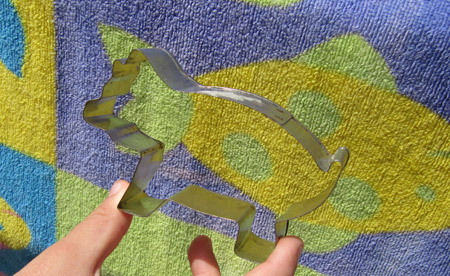
… a prehistoric boar called a metridiochoerus. We thought we could easily make a tusk from cookie dough to add onto the nose for a more ferocious look.
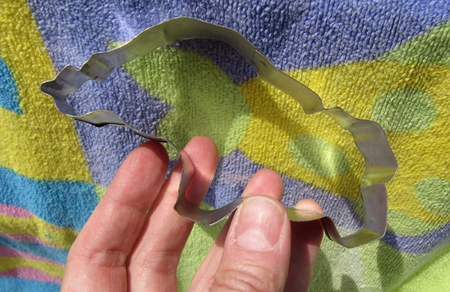
A cute bunny became …
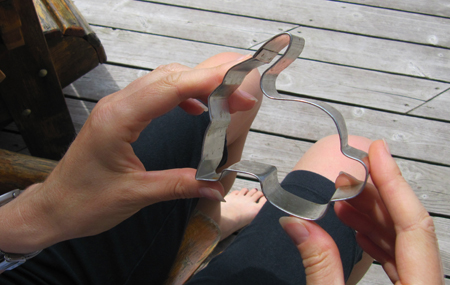
… a pteradactyl! We used the bunny for the body and head, and added part of one of the heart cookie cutters to make a wing. We found the more sturdy cutters worked well, and some of the more flimsy cutters broke when we tried to re-bend them.
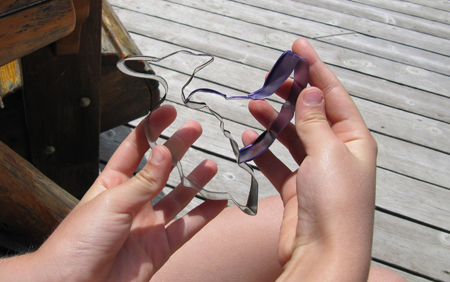
Once you have something to work with—maybe you found a dinosaur cookie cutter or are using a different shape altogether—it’s time to make the dough. We were at a cabin in Wisconsin, and the big girls started the process by making the dough while the little kids played in the water.
The first step is to microwave your cup of butterscotch chips for 1 minute.
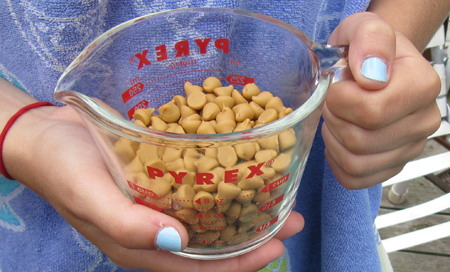
Then, it only takes a few seconds to stir the chips until smooth.
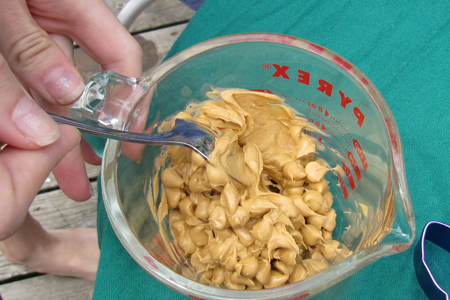
Very creamy. Smells delicious—like butterscotch pudding!
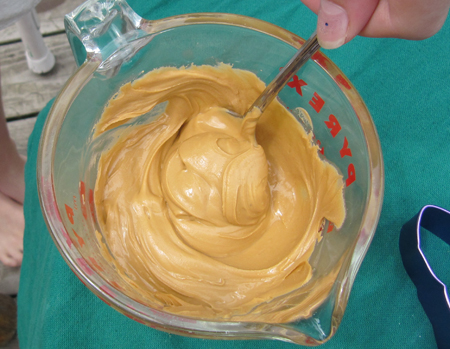
The next step is easy. Simply put the melted butterscotch and all the other ingredients into a bowl.
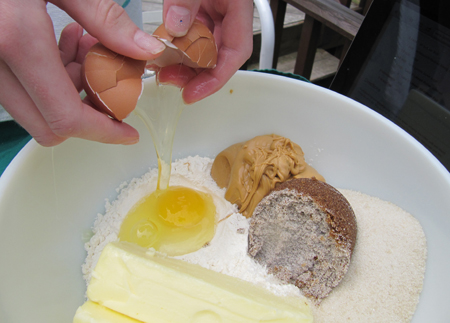
We didn’t have the stand mixer, so we hoped it would work to stir with a wooden spoon.
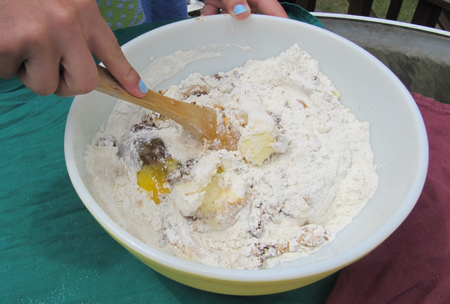
Katie started, and the three older girls took turns.
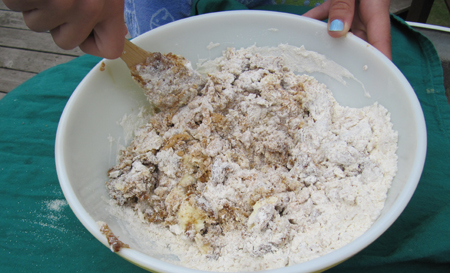
After a few minutes, the dough started to come together.
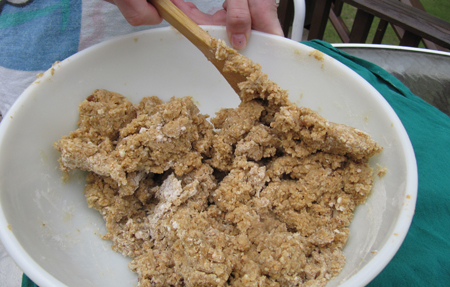
A little more elbow grease was required, but all in all it came together well without the mixer.
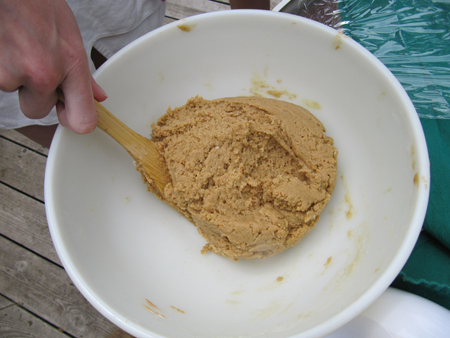
Next, divide the dough in half and make two fat disks of dough.
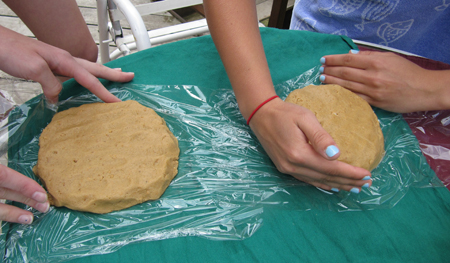
Wrap them up in plastic wrap and chill them in the refrigerator until firm. We left our dough chilling overnight, but an hour or two is probably sufficient if you want to bake sooner.
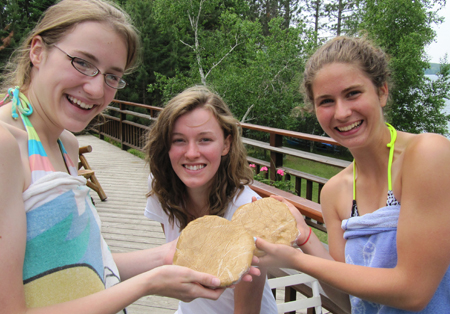
When you are ready to bake, pull your dough out and get your cookie cutters, rolling pin, extra flour for dusting the surface, cookie sheet and parchment paper. If you are working with little kids, it helps to get everything set up and ready to go before you call them to the table.
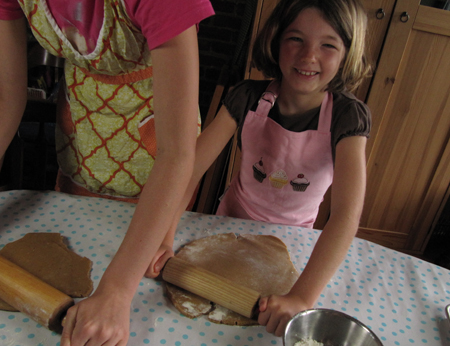
When the kids have their aprons on and are ready, start by rolling out the dough! Help the kids roll the dough properly by asking them to roll from the middle and out, but not to go over the edges which can flatten the dough too much. Another tip is to help them flip the dough every once in a while, dusting the surface and keeping their rolling pins dusted with flour so it doesn’t get sticky. If they are really young, you can always roll the dough out for them, and enlist their help using the cookie cutter.
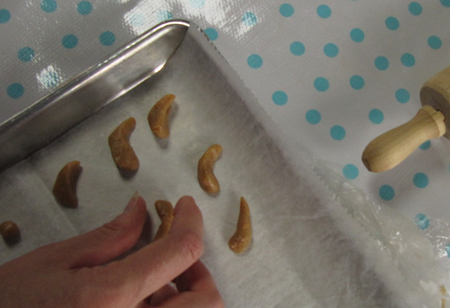
While the kids worked, one of the older girls made horns and spikes to decorate the cut-outs. Put these in the fridge to chill when you have a bunch.
Cutting out the shapes requires firm downward pressure and no wiggling the cutter! Rio and Roark could both cut out shapes easily.
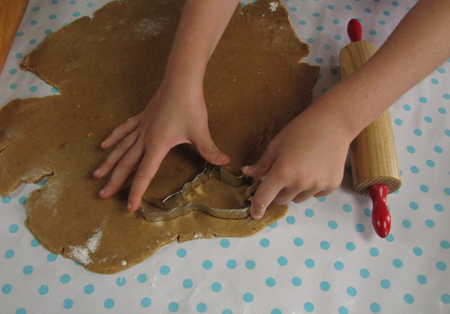
Roark had a little trouble picking the shapes up and putting them onto the cookie sheet, but didn’t mind at all if he had to press the neck back onto the body or if a wing got squished! If any don’t work well enough, you can always squish them into the extra dough and roll it out again.
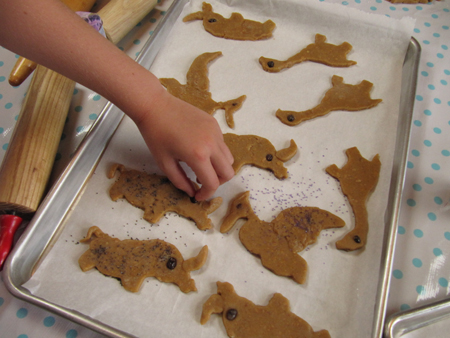
We found that it took longer for the kids and the dough was getting soft, so we ended up rolling out some cookies and then putting the dough back into the fridge for about 30 minutes. We also put the rolled out cookies into the fridge for about 20 minutes, as they had gotten a bit too soft while we decorated. We added cocoa nibs for eyes, chocolate sprinkles for fur, and a little purple sugar on the pterodactyl wings. We also used butterscotch chips and chocolate chips to make spikes on the brontosaurus cookies. We used dough scraps to add spikes and horns and even some tails. We just played around and tried all sorts of things, focused on fun rather than perfection or prehistoric authenticity!
This is a good time to preheat the oven to 375°. After 30 minutes, the dough had firmed up a bit, so we rolled out a second round of cookies.
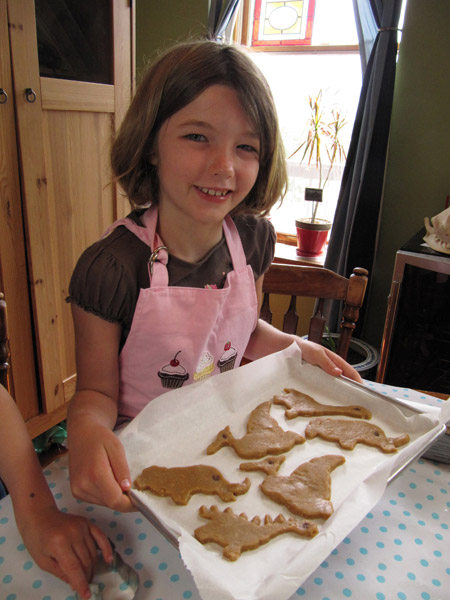
When you’ve decorated as much as you like, bake the cookies in the oven until they start to brown on the edges—this should take about 8-12 minutes.
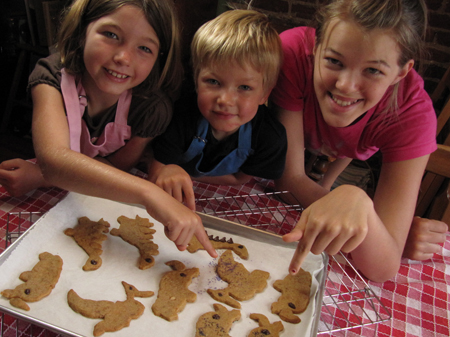
Let them cool 1 minute and then remove them to a wire rack to cool completely. We were careful with necks, horns and heads, and had good luck keeping all but one of our creatures intact! Roark said it doesn’t matter if the head breaks off after you bake them, because they still taste good.
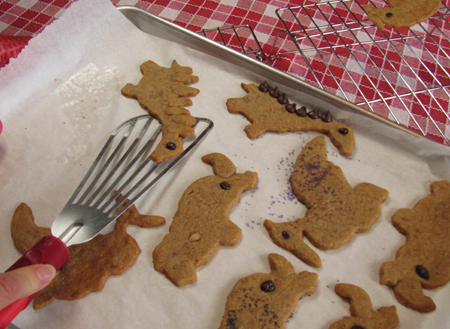
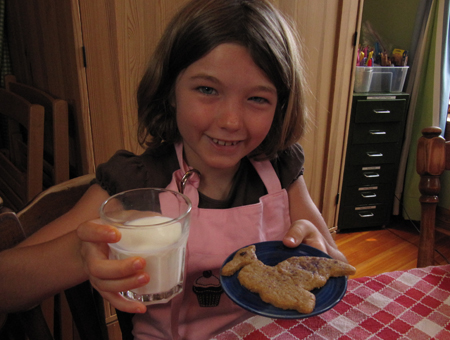
We let them cool for a few minutes, which was all the kids could manage before eating them! Rio and Roark both agreed the cookies tasted really good—the butterscotch chips give them a caramel-like flavor and add a tiny bit of chewiness inside the crispiness.
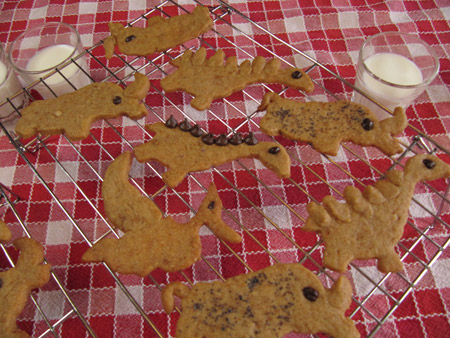
Excellent with milk! We let the kids each choose their favorites one at a time, starting with the youngest and going to the oldest, including the helpers and, of course, the moms. Roark picked the brontosaurus with the chocolate spikes, and Rio chose a pterodactyl with purple sparkles.
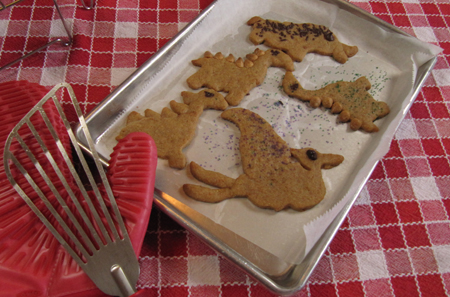
The final batch had a pterodactyl with legs and a wild boar with spikey chocolate sprinkle fur.
You just can’t beat a creative craft you can also eat. We even snuck two cookies into their airplane snack bag for a surprise on their trip home! If you make these wonderful Cookiesaurus cookies, I’d love to hear how you decorated your dinosaurs, and if you loved the cookies as much as we did.
Check back in a few days when Alex makes the perfect weeknight meal.
Liz is paid to write for the Land O'Lakes Recipe Buzz® Blog.
Share Your Thoughts
Did you find this article helpful? Has it inspired you? What else would you like to know?


