Decorating Cookies 101
When it comes to decorating cookies and bars, the only limit is your imagination. From a quick sprinkling of nuts to more time-intensive techniques such as frosting or piping, there are many options to choose from.
 by
Mary Sue
 by
Mary Sue
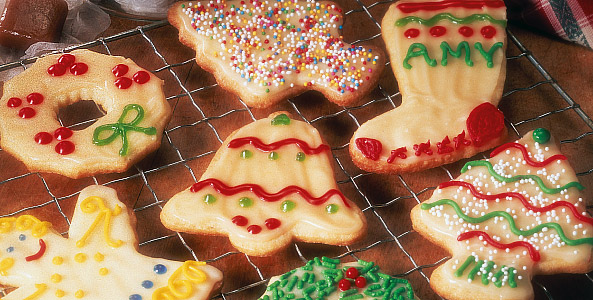
When it comes to decorating cookies and bars, the only limit is your imagination. From a quick sprinkling of nuts to more time-intensive techniques such as frosting or piping, there are many options to choose from.
Sprinkling/Dusting
Decorative sprinkles such as nonpareils, assorted finely chopped nuts, toasted coconut, crushed peppermint candy, colorful grain and sparkling sugars, edible glitter, red cinnamon candies and sliced gumdrops all work as simple cookie and bar toppings. Apply these decorations before the frosting or glaze is dry so they stick to the cookies, or paint the area you wish to cover with warm corn syrup and then add the desired cookie decorations. For dusting, use a small sieve or shaker. Dust cookies or bars with powdered sugar. Use a stencil for specific shapes or designs.
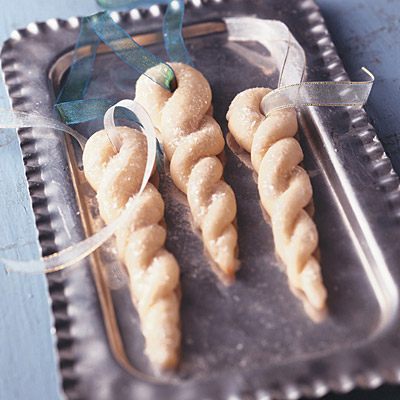
Drizzling/Dipping
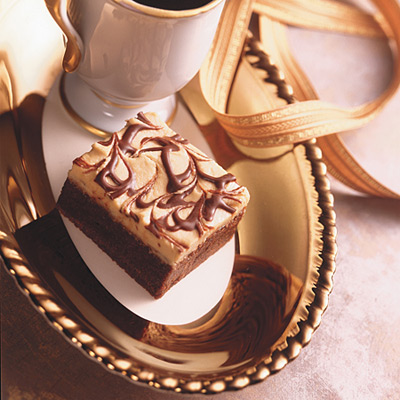
Melt semi-sweet baking chocolate or chocolate chips with a small amount of vegetable shortening. Place into a resealable plastic food bag and cut off a small corner. To decorate, follow one of the methods below:
- Squeeze the bag, while moving back and forth, to drizzle chocolate across top of cookie or bar in a defined pattern or random fashion.
- Create a decorative effect by pulling a skewer, toothpick or knife across the top of the cookie or bar, perpendicular to the lines of chocolate.
- Use a fork, instead of a knife, to create a unique design as you apply topping.
- Dip a portion of the cookie into melted chocolate or candy coating.
Vanilla-flavored candy coating, white baking chocolate or semi-sweet baking chocolate can all be used for dipping cookies. Chop the candy coating or chocolate then, add a small amount of vegetable shortening (about 1 tablespoon per 12 to 16 ounces candy coating or chocolate). Heat over low heat in a heavy saucepan, stirring occasionally, until smooth. Remove from heat. To dip cookies, tip saucepan slightly and dip cookies halfway into melted coating. Lightly shake off excess coating. Allow to cool on wire racks placed over waxed paper until coat coating is set.
Frosting/Glazing
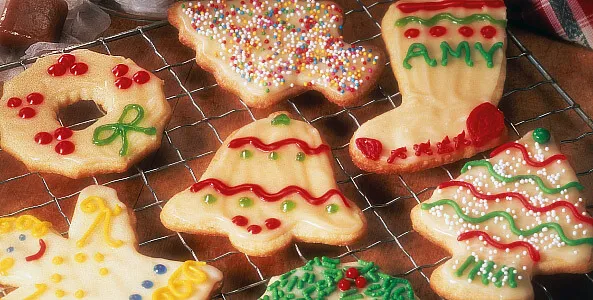
Place the cookie in your hand and drop about a teaspoonful of frosting or icing on top. Using light pressure, so the cookie doesn’t break, spread the frosting using a small metal spatula, knife or spoon until its smooth. If you plan to pipe additional frosting on top, let frosting dry for at least two hours.
To tint frosting with gel or paste food color, place ¼ cup of the frosting in a custard cup. Add the desired food color, one drop or small amount at a time; mix well. Add additional color until desired intensity is reached. Frosting colors deepen upon standing, so be conservative with the amount of color used.

Piping
Fill pastry bag or resealable plastic food bag about 1/3 full of frosting. While holding bag at a 45-degree angle, touch the tip to the cookie and gently squeeze the bag, using steady pressure to keep the frosting flowing easily. Raise the tip a bit and pipe the words or pattern you want or outline the edge of the cookie. Use a continuous motion to avoid irregular or uneven lines.
Share Your Thoughts
Did you find this article helpful? Has it inspired you? What else would you like to know?


