How To Brown Butter
Have you noticed it, too? It seems like all the recipes, blogs and food magazines are talking about brown or browned butter, and there’s a very good reason as to why. Browned butter adds a rich, complex flavor to any dish and, although it may sound intimidating, it’s actually a very simple process. With a few quick tips, you’ll soon be on your way to adding this nutty flavor and aroma to a variety of baked goods and meals in your very own kitchen.
SEE THE RECIPE
 by
Land O'Lakes Test Kitchen
 by
Land O'Lakes Test Kitchen
What is Brown Butter?
First let’s talk a bit about butter. Made from cream, butter is made up of butterfat, milk solids and water. When you melt it, these things separate, which allows you to do some pretty cool things with butter, such as brown or clarify it. The key to Browned Butter is the milk solids, which turn brown and toasted when you use the following technique.
How to Make Brown Butter
-
Gather Your Equipment
To start, find yourself a skillet or saucepan. We recommend using a shiny pan with a silver finish or a cermaic coated pan because it allows you to see the transition as the butter melts down and changes color from light to dark golden brown more easily. Dark colored pans make it really hard to see the color change.
-
Add the Butter
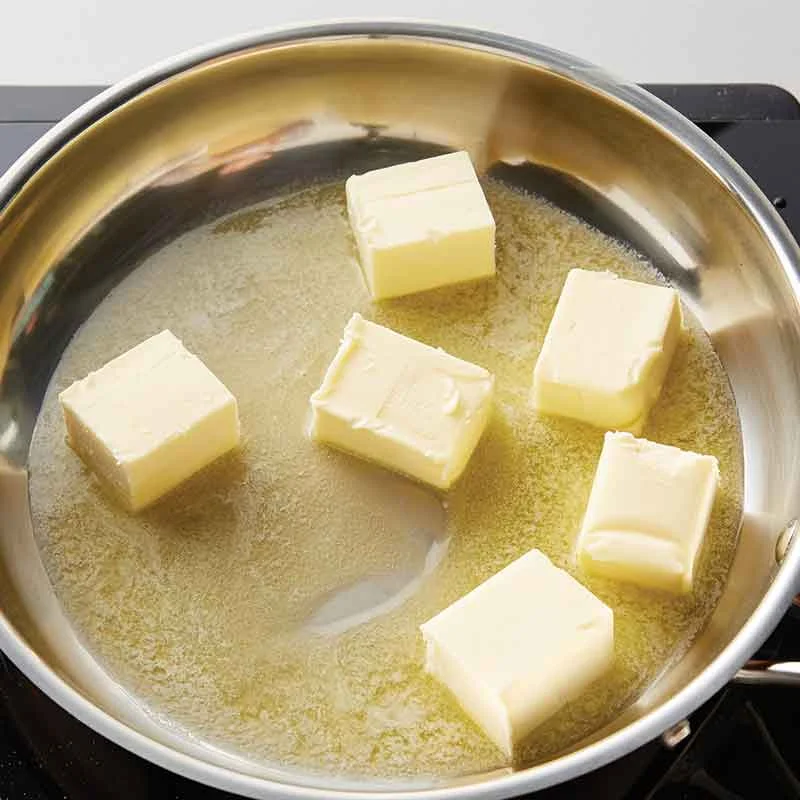
Place the skillet over medium heat and add your butter. You can use either salted or unsalted butter when making brown butter. The butter can be used straight from the fridge or freezer since it's being melted, you don't need to worry about softening it.
-
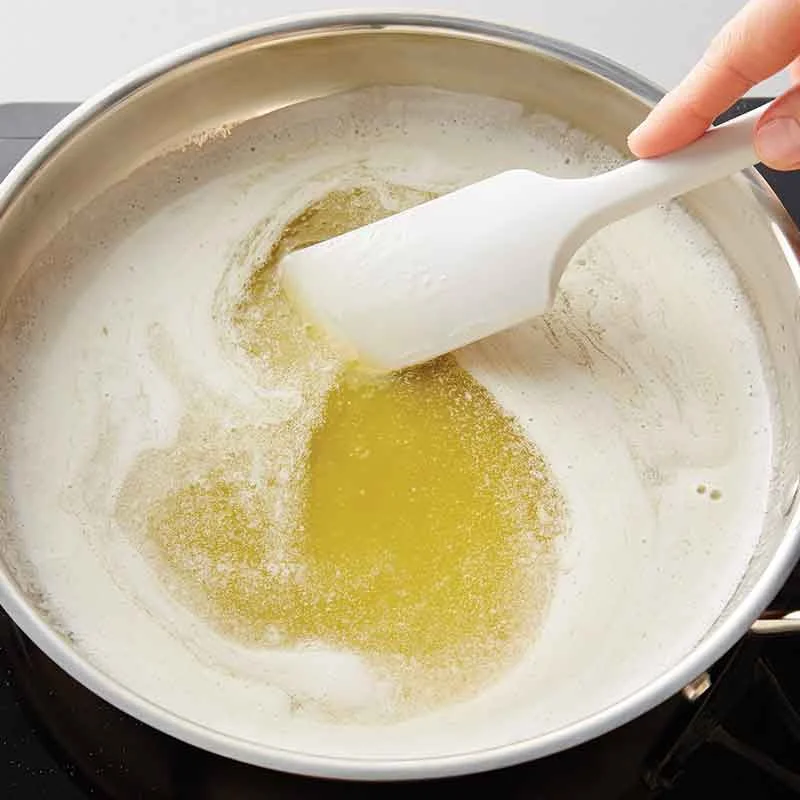
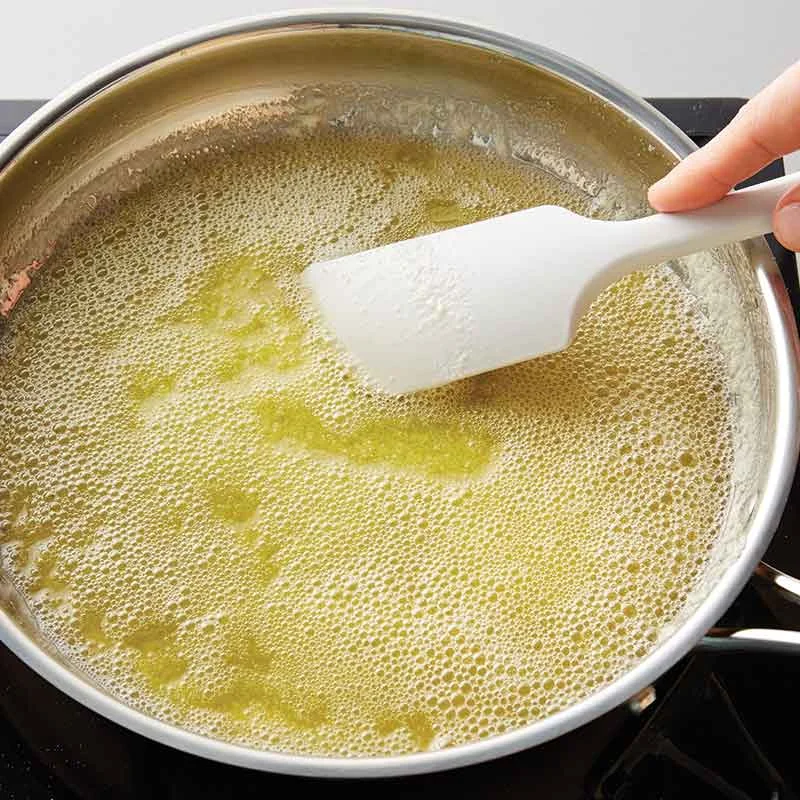
Swirl Pan as Butter Melts
Allow the butter to melt, swirling the pan or stirring to keep it moving. As it melts, there will be some frothing and bubbling (shown below) — this is normal.
-
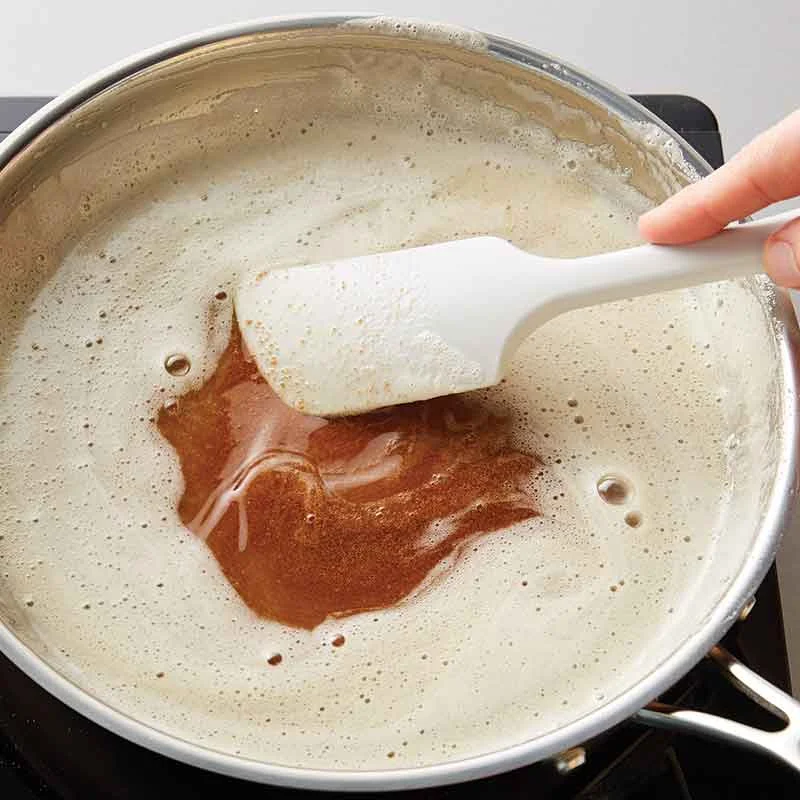
Milk Solids Start to Brown
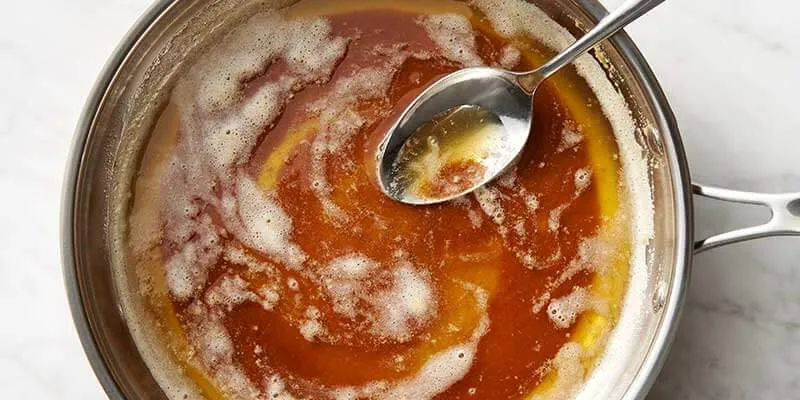
As the butter continues to cook, the milk solids will start to brown. This can take anywhere from 5-7 minutes.
-
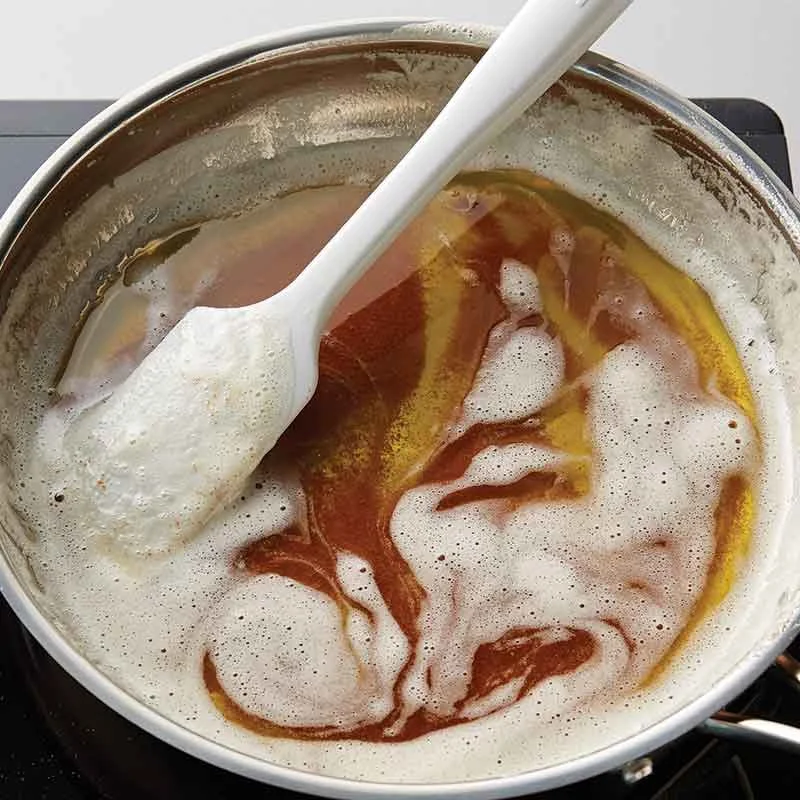
Finding the Perfect Golden Brown
Stay close to your pan because the trickiest part of browned butter is getting it just brown enough—not too dark or too light. Too light, and it won’t have the characteristic nutty flavor and aroma. Too dark, and it may start to taste (and look) burnt. Your nose will be the first to tell you are browning your butter. The aroma is amazing—very nutty. Continue cooking the butter until it takes on a beautiful golden color. From the start of browning to perfect browned butter it only takes a minute or two.
-
Remove From Pan
Once your butter has reached that golden brown color, remove it from the pan—either into your final application or to another dish and enjoy. It’s important to remove the butter from the heat as leaving it in the hot pan or on the stove can push it over the edge from deliciously golden brown to burnt. If your butter goes too far and burns sadly there is no saving it. Count it as a learning experience and start over.
The Finished Product – Browned Butter
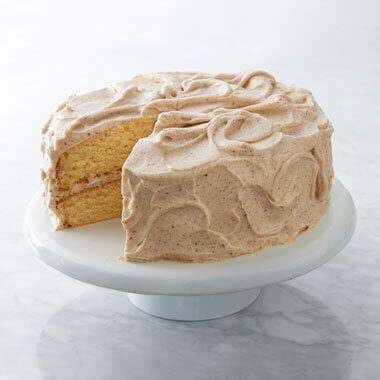
Browned butter is a fantastic ingredient to add to both sweet and savory dishes. Our staff in the Test Kitchen loves using it to bring depth and richness to some of their favorite recipes. Browned butter can be made and stored in a covered container in the fridge for future use. It will keep as long as the original best by date. With flavors that span across sweet and caramelly to toasted and nutty, browned butter is an aromatic ingredient we encourage you to try! Below are some Test Kitchen Approved browned butter recipes that are sure to win in your kitchen.
How to use Brown Butter
Brown Butter Recipes You Should Try
Share Your Thoughts
What is your favorite way to use brown butter? Leave your comments below and tag us in your brown butter creations on Instagarm @landolakesktchn.
Learn More About Butter
Love butter as much as we do? Check out All Things Butter for more!
Share Your Thoughts
Did you find this article helpful? Has it inspired you? What else would you like to know?


