Think Spring with Playful Polka Dots
Spring is finally in the air! The days are getting longer, my commute is getting shorter (thanks to less ice and snow), and we just bought a pair of pint-sized, yellow rubber boots for our toddler to go puddle-stomping. After a very long, very cold winter, I feel like a mama bear coming out of hibernation. Thank goodness for sunshine!
SEE THE RECIPE
 by
Amanda
 by
Amanda
Spring is finally in the air! The days are getting longer, my commute is getting shorter (thanks to less ice and snow), and we just bought a pair of pint-sized, yellow rubber boots for our toddler to go puddle-stomping. After a very long, very cold winter, I feel like a mama bear coming out of hibernation. Thank goodness for sunshine!
Unfortunately, it still won’t be green outside for quite a while here in Minnesota. So, in the meantime, I’m settling for an infusion of spring in my home (yellow tulips blooming on the kitchen table!), my wardrobe (break out the pastels) and my cooking.
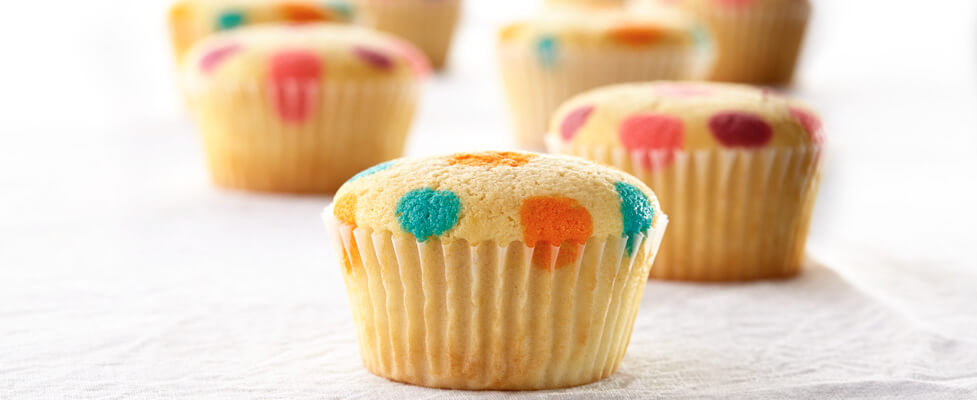
With this in mind, I wanted to find a treat to bring into my office to spread the springtime spirit. That’s when I learned about this playful Polka Dot Cupcake recipe. I liked that – in lieu of frosting – there is a zesty lime filling in the center. Citrus is such a perfectly fresh taste for spring! And, the other obviously adorable aspect of these cupcakes is that you get to customize the polka dots. I chose springy yellow, green and blue dots, but these could also make sweet treats at a baby shower (pink or blue!), post-game snacks using your kids’ team colors, or festive birthday cupcakes with a confetti of colors. The possibilities for Polka Dot Cupcakes are endless!
To make a batch of your own Polka Dot Cupcakes, start by preheating your oven to 350°F. Line 12 muffin pan cups with paper baking cups. I decided this was the perfect time to use my most springy looking paper cups – with bright green stripes!
In a small bowl, mix together the softened cream cheese (which could have been left out on your counter to come to room temperature – in a pinch, you can microwave it for 10 seconds), sugar, lime zest and egg yolk.*
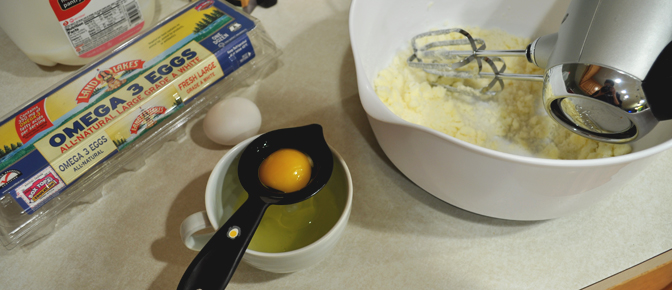
*Remember, you’ll need three egg whites later, so reserve the whites when you separate your egg.
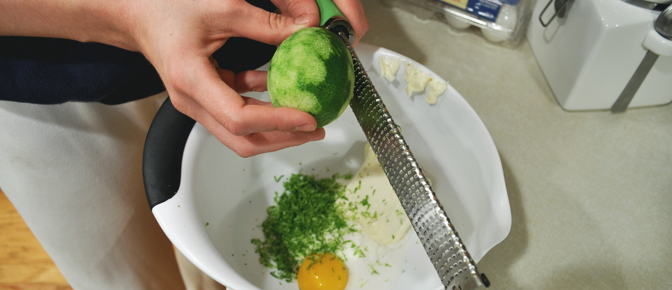
It’s such a small amount of filling that I hand-mixed mine with a spoon. Set the bowl of filling aside.
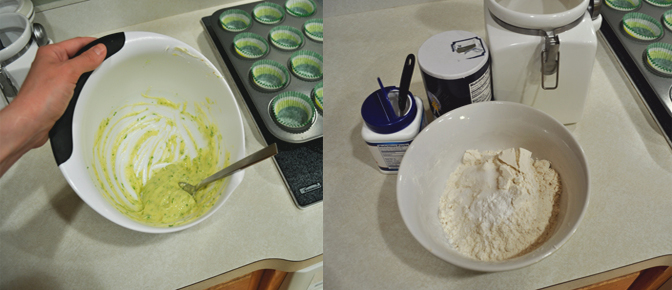
In a different bowl, mix together the dry ingredients for the cupcakes: flour, baking powder and salt. Set that bowl aside as well.
In a medium-sized mixing bowl or stand mixer, cream together the remaining 1 cup sugar and softened butter. Add egg whites and vanilla. Beat those ingredients together until you have a nice creamy mixture.
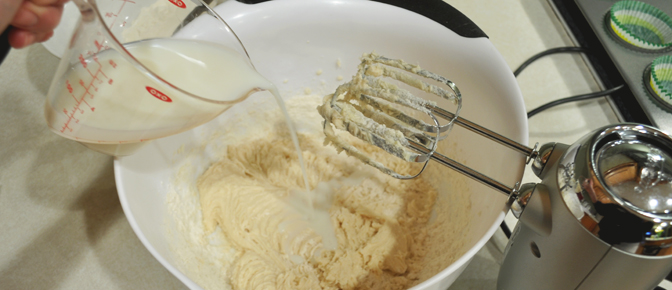
The final step in preparing your batter is to alternate adding the flour mixture and the milk.
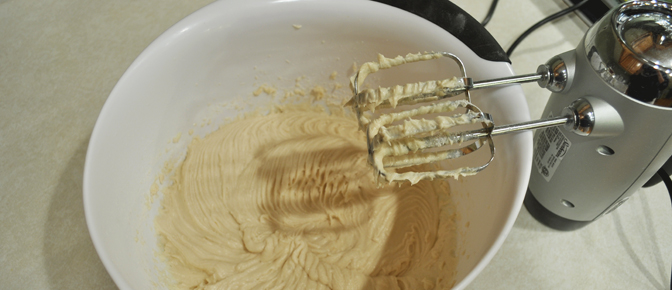
When those final ingredients are just combined, it’s time to get creative!
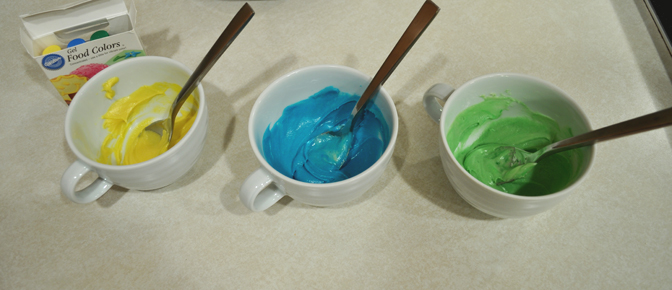
Spoon out a small amount of batter for each color polka dot you want to make. I used a heaping spoonful for each of my three colors.
Tint each cup of batter to your desired potency. I went a little on the strong side just to be sure that my polka dots would really pop.
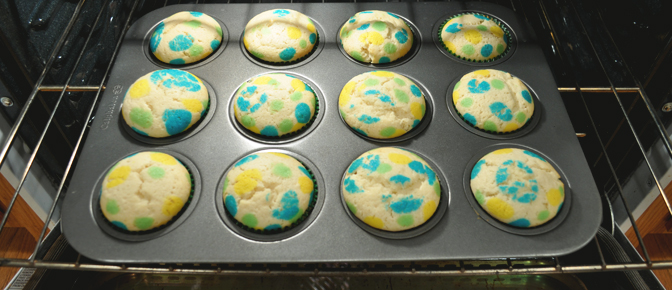
In order to help you avoid my mistakes, I will also note that I was worried that such a small amount of batter would become dry very quickly, so I added a little milk to the blue batter. As you’ll see later, this was a mistake. Thin batter creates spreading, which you do not want. Thicker batter will retain its “dot” shape best.
Spoon a tablespoon of the plain batter into each lined cup. Use the back of the spoon to spread the batter into the bottom of the cup. This will help keep your filling in the center of the cupcakes.
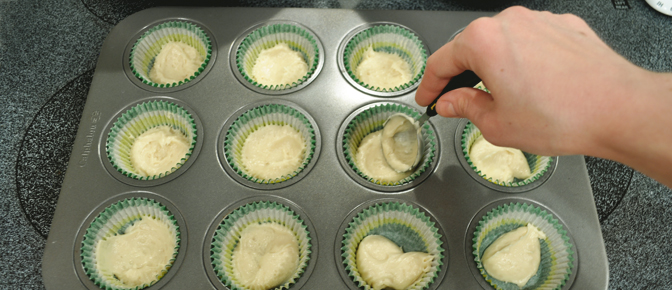
Next, evenly distribute the filling into the center of each of the 12 cups (about one tablespoon per cup).
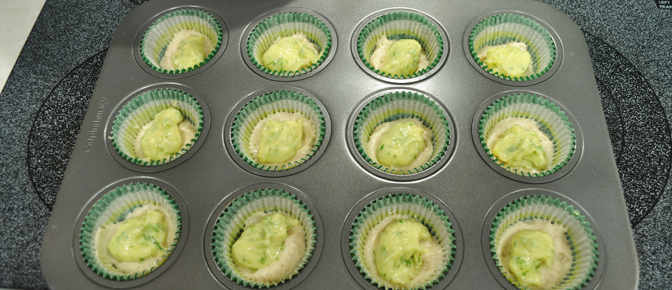
Use the remaining plain batter to top each of the cupcakes (about 3 tablespoons each). Again, I used my tablespoon to try to spread the batter over and around the filling so it would stay somewhat in the middle.
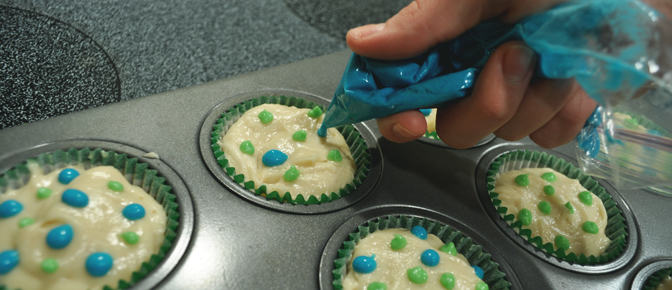
Grab one resealable plastic bag for each of the colored batters. Spoon each colored batter into its own bag. Snip a tiny hole at one corner of the first bag. Begin piping small dots (1/4 inch) onto the top of the cupcakes.
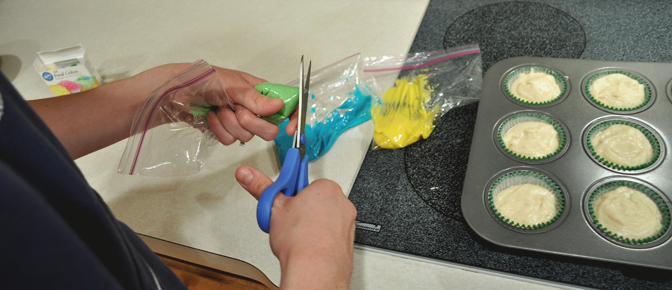
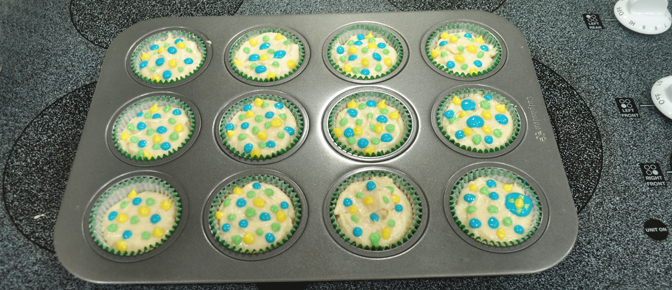
Repeat this process with each of the colored batter bags until you are satisfied with the number of polka dots.
Place the fully decorated cupcakes into the preheated oven. Bake for 18-22 minutes – until the edges begin to turn a golden color. The recipe suggests that you also use the toothpick test, but I think that’s less reliable since the center filling will stay soft and you don’t want to overbake your cupcakes.
Remove the cupcakes from the pan and place them on a cooling rack.
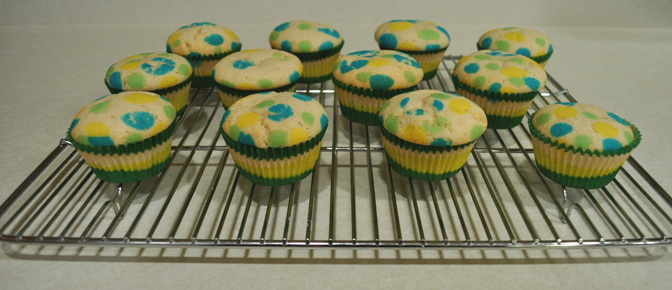
Once cool, serve Polka Dot Cupcakes and think spring!
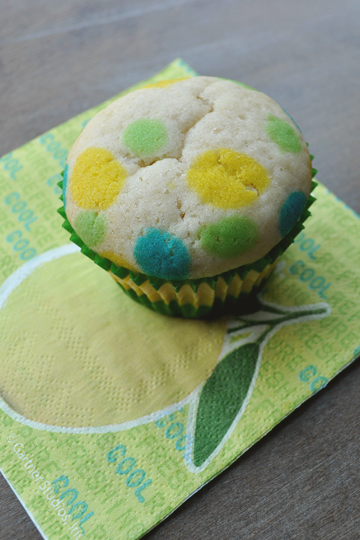
Bring some color into your life with festive Polka Dot Cupcakes, then rate and review this recipe.
Amanda is paid to write for the Recipe Buzz® Blog.
Share Your Thoughts
Did you find this article helpful? Has it inspired you? What else would you like to know?


