‘Twas the Mice Made For Christmas…
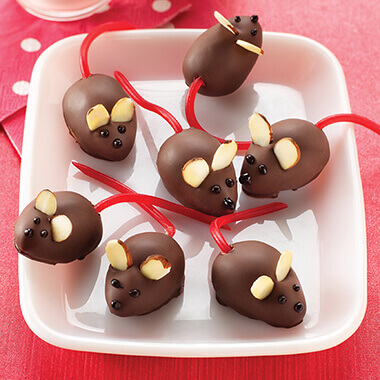
‘Twas the night before Christmas and all through the house, we were all stirring and craving a peanut butter mouse!
SEE THE RECIPE
 by
Alexandra
 by
Alexandra
‘Twas the night before Christmas and all through the house
We were all stirring and craving a peanut butter mouse!
Excited for Santa and visiting family on the way,
We saw this recipe and decided “What the hey!”
Bryce had an idea – instead of cookies, wouldn’t Santa like mice?
Where to get a recipe? Please Land O’Lakes, wouldn’t that be nice?
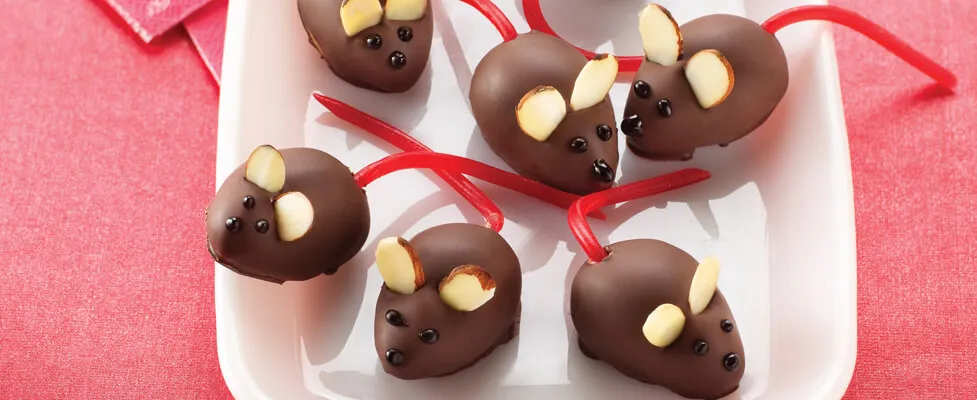
They’re so cute and tasty and easy to make,
Surely St. Nick would like them to take?
Get your mixers ready and I’ll show you how!
It will take you about an hour and a half if you start…now.
Gather your ingredients and get ready to cook,
These mice are so cute you’ll definitely want a look.
Minimal prep is needed…cutting red licorice into 2 ½-inch strings,
For this recipe you’ll only need a few things.
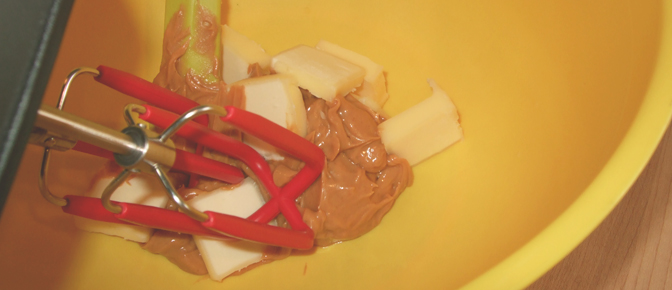
Place 1/2 cup creamy peanut butter and 1/4 cup softened butter in a bowl to beat.
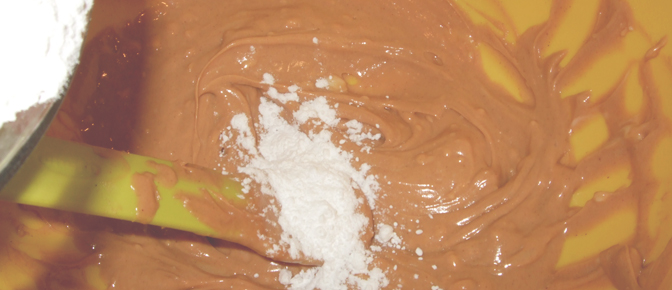
Adding 1 1/2 cups powdered sugar makes shaping the dough easy and neat.
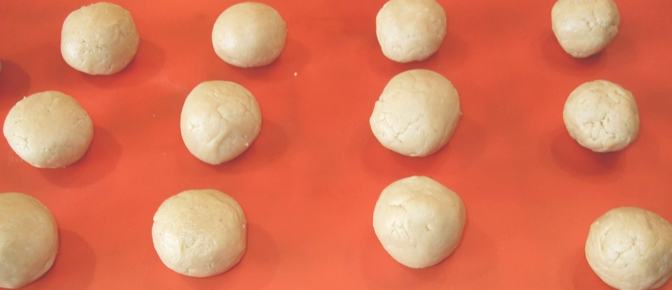
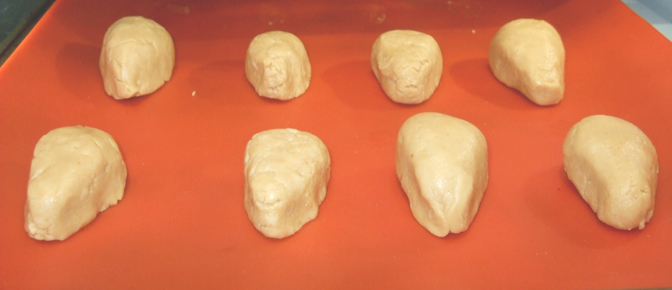
Roll the dough into 1-inch balls and place on a wax-paper lined tray.
Are you following along with these instructions okay?
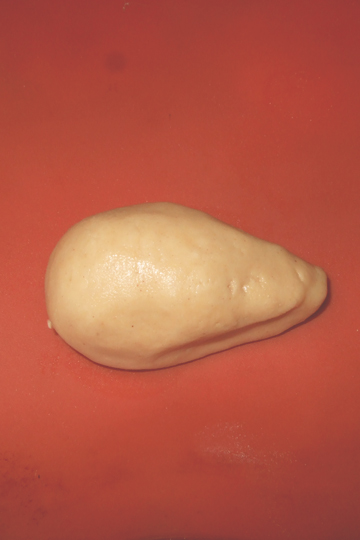
Pinch one end of dough to make a triangle nose.
The mice will take shape when you do this – no time to doze!
Place your mice in the fridge to get nice and cold.
These couldn’t be easier, no need for a candy mold.
Place 8 ounces of chocolate-flavored candy coating (almond bark) in the microwave to melt.
Can’t make these all year long, or no one’s figure will be svelte!
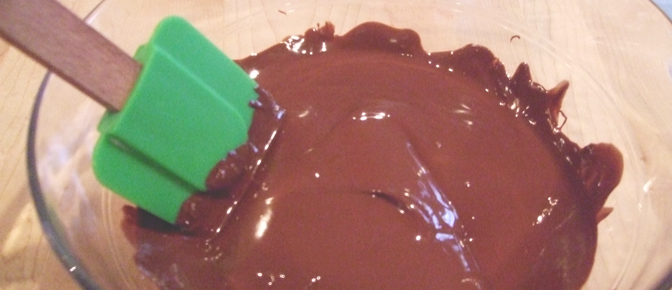
It’s time to take our mice and give them a chocolate dip.
Place wax paper on a flat surface…then let her rip!
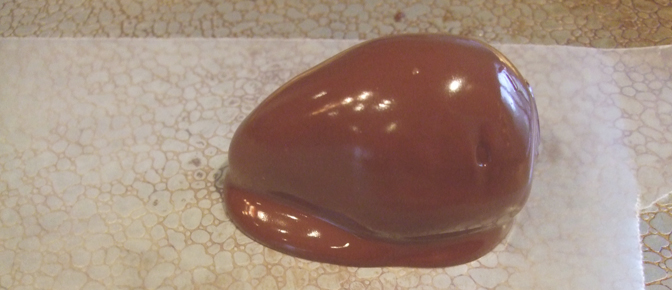
Keep the dough refrigerated and dip one mouse at a time.
Peanut butter mice are totally sublime!
One candy on a fork or a toothpick to dip
There will be chocolate everywhere… don’t worry if there are drips!
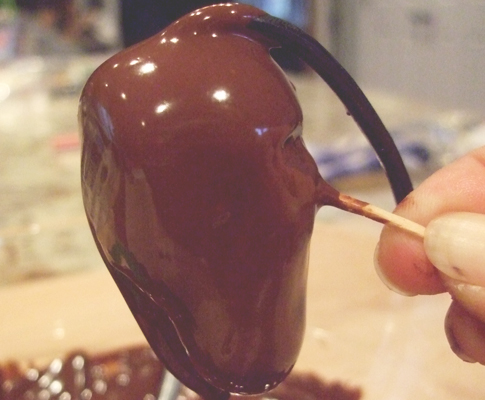
It was easier to put the licorice tail in first.
When we tried after we dipped, the dough smushed, we cursed.
Once or twice during dipping you might lose a tail,
But please don’t fret... this won’t be a Pinterest “fail”!
Dip the dough into the chocolate candy to entirely coat.
When you make these for your family, you’re entitled to gloat!
Have extra chocolate around your body of mice?
If you can be patient and let the chocolate drip off, they’ll look nice.
If you put them down on the paper and the chocolate starts to pool,
Gently pick up and slide the candy forward – it’s totally cool
Immediately insert 2 almond slices for ears,
If the chocolate cools down, no worries, no fears!
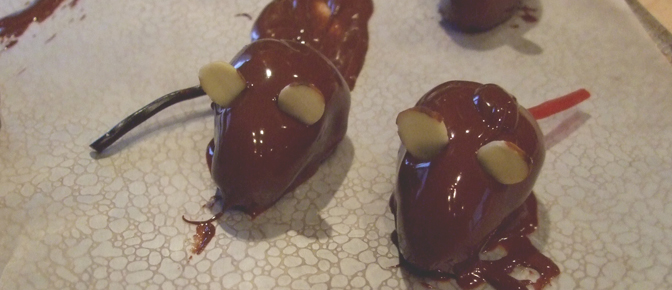
Did you decide if you are making these for St. Nick?
Matching the almond pieces is a great little trick.
Look through 1/4 cup of sliced almonds to find
Almond pieces that look to be two of a kind.
Let stand in fridge 30 minutes, until candy is set or all firm.
If you don’t like mice, don’t worry these won’t make you squirm.
Time to make the eyes and nose out of decorator gel,
It’s not too hard, even rookie decorators will do well.
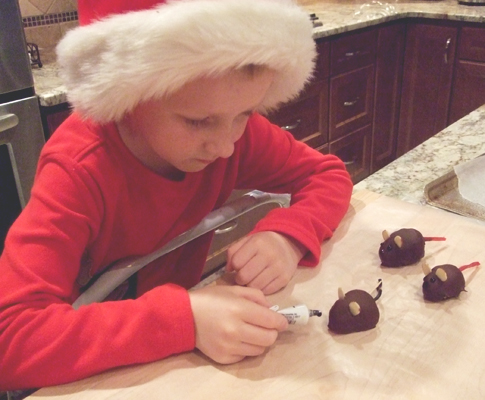
If you want to make it easy you can sub mini chocolate chips,
Add right after you coat them, they’ll still look pretty hip.
One of the boys wanted to use candy eyes for his mouse.
They looked pretty funny and brought down the house.
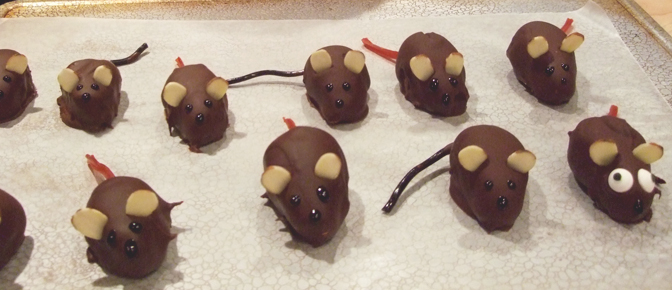
This is a tasty treat that’s perfect for all,
They’re great fun to make and you’ll have a ball.
I hope this explanation of the recipe was all right.
Happy Holidays to all and to all a good night!
Please leave us a comment if you liked how these look
Don’t forget to Pin this and like us on Facebook!
Alexandra is paid to write for the Recipe Buzz® Blog.
Share Your Thoughts
Did you find this article helpful? Has it inspired you? What else would you like to know?


